How to use the audio vault: Storing and versioning your music files
Your music files are assets. Treating them like assets — storing them systematically, versioning them properly, and keeping the right people able to access the right files — is part of running a professional operation.

Key Takeaways
Store every version of a track — demo, rough mix, mix, master — in a single project-linked location
Version control means the most recent file is always clearly identified, and older versions remain accessible
Storage tiers scale with your needs: Starter covers single artist releases, Pro covers larger catalogues
Files in the Vault are private to your project by default — collaborators access only what you grant
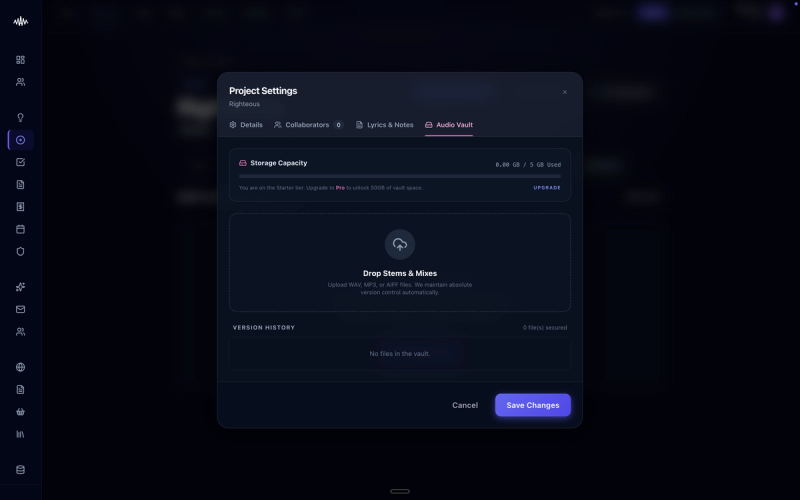
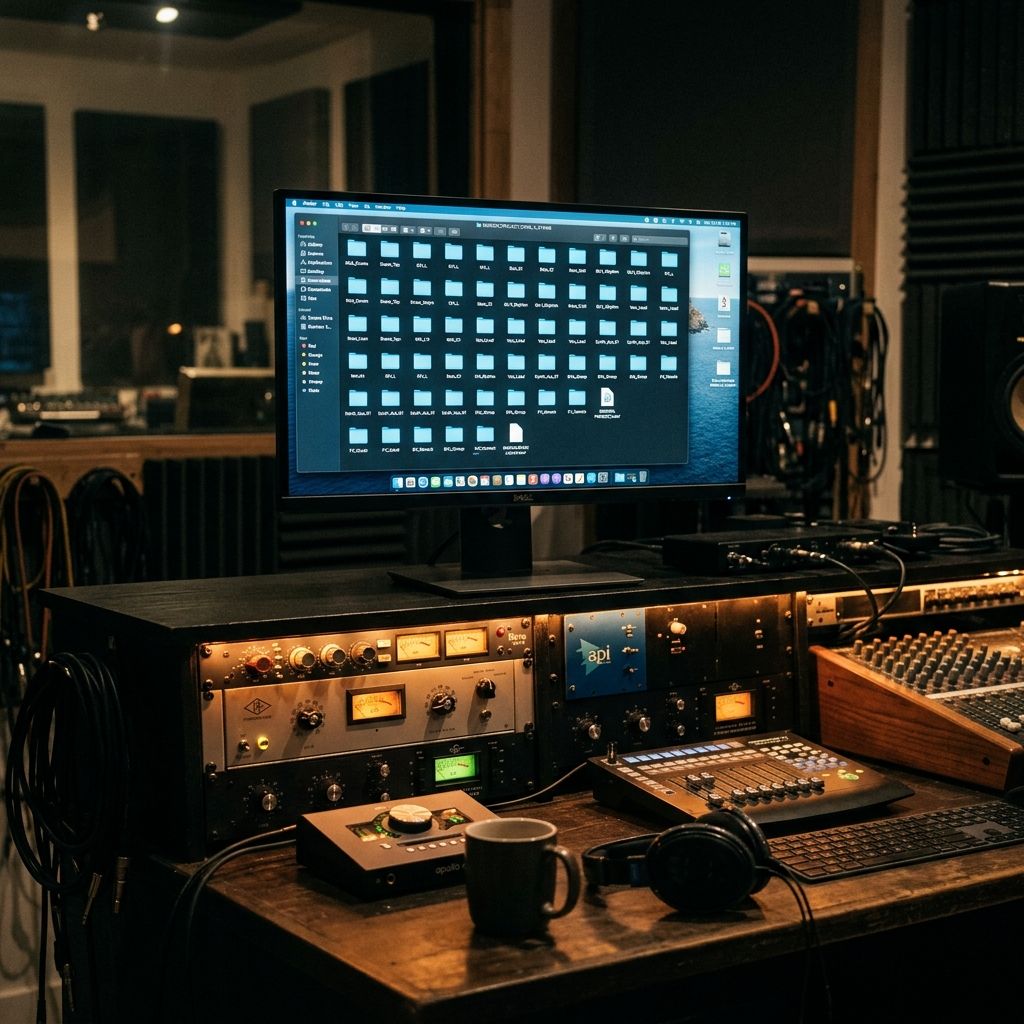
Your music files are valuable digital assets, yet many artists lose track of master files, mixes, and stems across various hard drives and chat applications. Treating these files systematically by storing them securely and versioning them properly is essential for running a professional operation. The Audio Vault in MAM provides a centralised, secure space designed specifically to keep your catalogue organised and accessible to your team.
Why this matters
Without a structured storage system, you risk losing access to high-resolution masters or accidentally sending an outdated rough mix to a playlist curator, distributor, or sync agent. This disorganisation can lead to missed release dates, wasted budget on re-mastering lost files, and unprofessional communication with industry partners who expect instant access to the correct assets.
How to do it
1. Navigate to the 'Audio Vault' tab from the main MAM sidebar menu.
2. Click the 'Create Project' button to set up a dedicated folder for your single, EP, or album.
3. Drag and drop your audio files into the upload zone, ensuring you upload high-resolution WAV files alongside your reference MP3s.
4. Use the 'Upload New Version' button on an existing track to stack updated mixes or masters sequentially, which prevents duplicate file entries.
5. Click 'Edit Metadata' on each file to assign the correct track title, artist names, and version stage, such as 'Rough Demo' or 'Final Master'.
6. Use the 'Share Link' panel to generate secure, expiring access links for your bandmates, manager, or PR agent.
Tips
• Avoid using confusing file names like 'final_mix_v4_actual_final.wav'; instead, upload them to the same file card and let the Audio Vault's version numbering system keep track of the history.
• Upload your instrumental and acapella stems at the same time as your main master to ensure they are permanently archived together for future sync licensing opportunities.
• Regularly review your project access permissions under the 'Collaborators' tab to ensure only active team members have download rights to your unreleased material.
Next steps
Now that your audio files are securely archived and versioned, head over to the Release Planner to link your finalised masters directly to your upcoming distribution metadata.
Ready to streamline your workflow?
Stop piecing together spreadsheets and scattered notes. Join the waitlist for Music Artist Manager and get your entire rollout in one place.
Written By
Gavin Alexander
Senior Marketeer
As the founder of Music Artist Manager, Gavin has spent years at the intersection of music and technology. Seeing firsthand how chaotic release rollouts and split sheets can be, he designed a platform that brings major-label infrastructure to independent artists and their teams. He writes extensively about industry trends, artist leverage, and workflow optimisation.